A successful rotationally molded product starts with a well-planned design. Because rotational molding uses heat and rotation to distribute plastic inside a mold, the shape and features of a part can affect its strength, appearance, and overall quality.
Effective rotomolding design considers both the product’s intended use and the requirements of the molding process. Planning these details early can help reduce production challenges and unnecessary tooling changes.
Key Rotomolding Design Considerations
When developing a rotationally molded part, consider:
- Wall thickness: Maintain uniform thickness based on part size and load needs. Avoid abrupt thickness changes, which disrupt material distribution and cooling.
- Material Flow & Corner Radii: Use generous, rounded corners (radii) to allow resin to flow smoothly throughout the mold and eliminate stress points.
- Draft angles: Incorporate adequate draft angles so finished parts slide cleanly out of the mold during ejection.
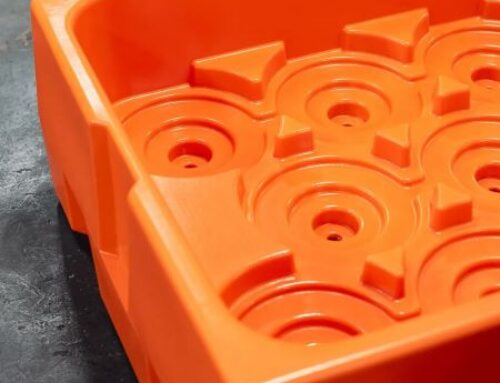
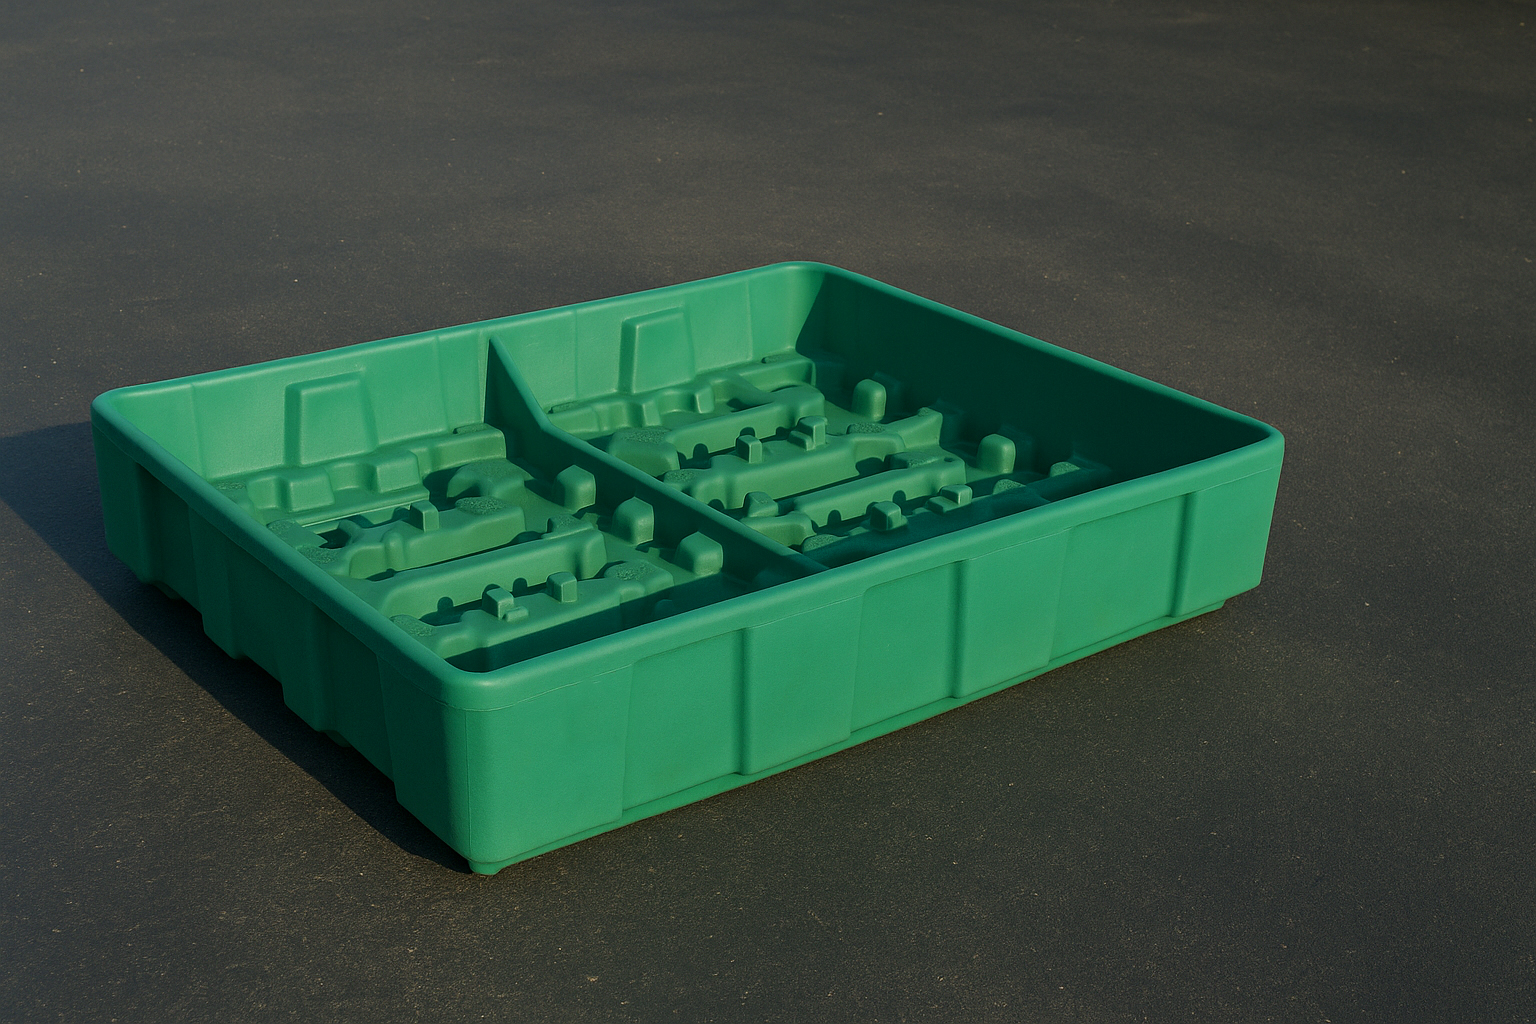
- Structural features: Reinforce large, flat panels (which warp easily during cooling) by integrating ribs, contours, or kiss-offs for added rigidity.
Incorporating Built-In Features
Custom rotational molding easily encapsulates hardware and surface details directly during the molding cycle, eliminating post-processing steps:
- Molded-in threaded inserts and metal fittings
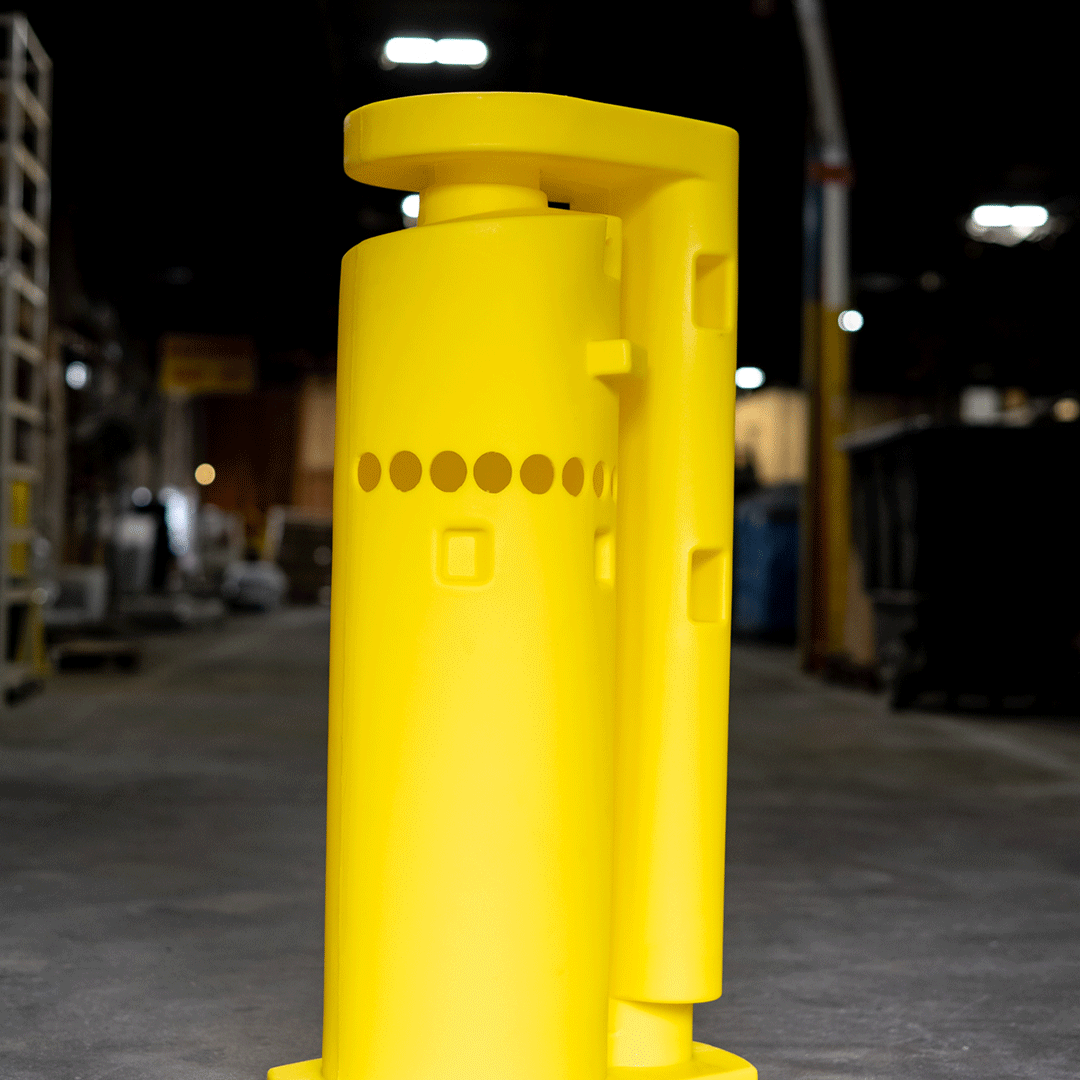
- Handles, hinges, and mounting points
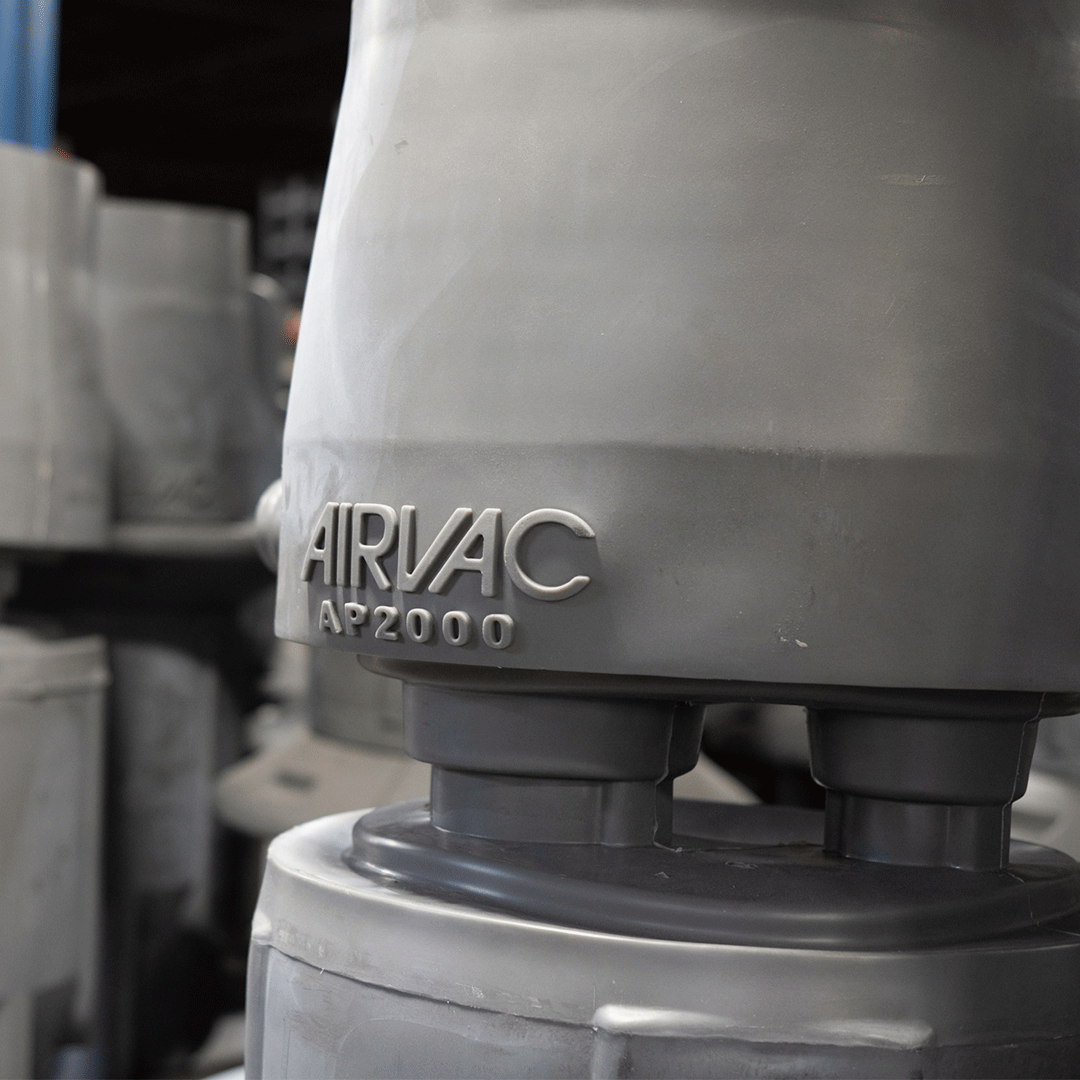
- Custom surface textures, colors, and molded-in graphics
Including these features during the initial rotational molding design can help ensure they work properly with the manufacturing process.
Rotomolding Design FAQs
Work With an Experienced Rotational Molding Partner
Good rotomolding design can make the manufacturing process more efficient while helping produce durable, consistent parts. Working with an experienced rotational molding manufacturer early in the design process can help identify potential issues and develop the right approach for tooling and production.