
Rotational Molding Design Guidelines For a Smoother Process
At Integrity Rotational, we are committed to ensuring that your design is both functional and manufacturable. We that education regarding the true capabilities and limitations of the rotational molding process is imperative. Customers often tell us they have learned more in an hour of talking to Integrity than in 15-years working with other rotomolders.
Our team is happy to consult with you to review your product design and identify potential problem areas that may present challenges during the molding process. With our extensive experience in rotational molding, we can pinpoint issues such as difficult geometries, thin wall sections, or complex undercuts that may impact production or result in costly mold changes. By addressing these challenges early in the design phase, we help you avoid costly delays and ensure a smoother, more cost-effective manufacturing process. Let us help bring your design to life with the right expertise and guidance every step of the way.

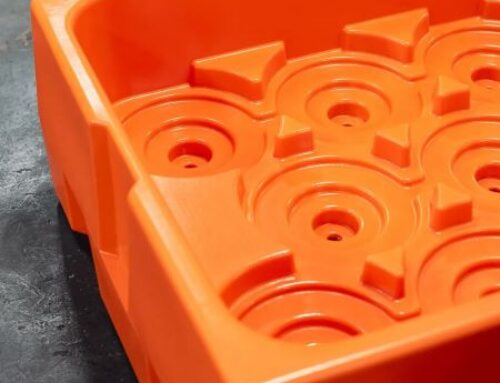
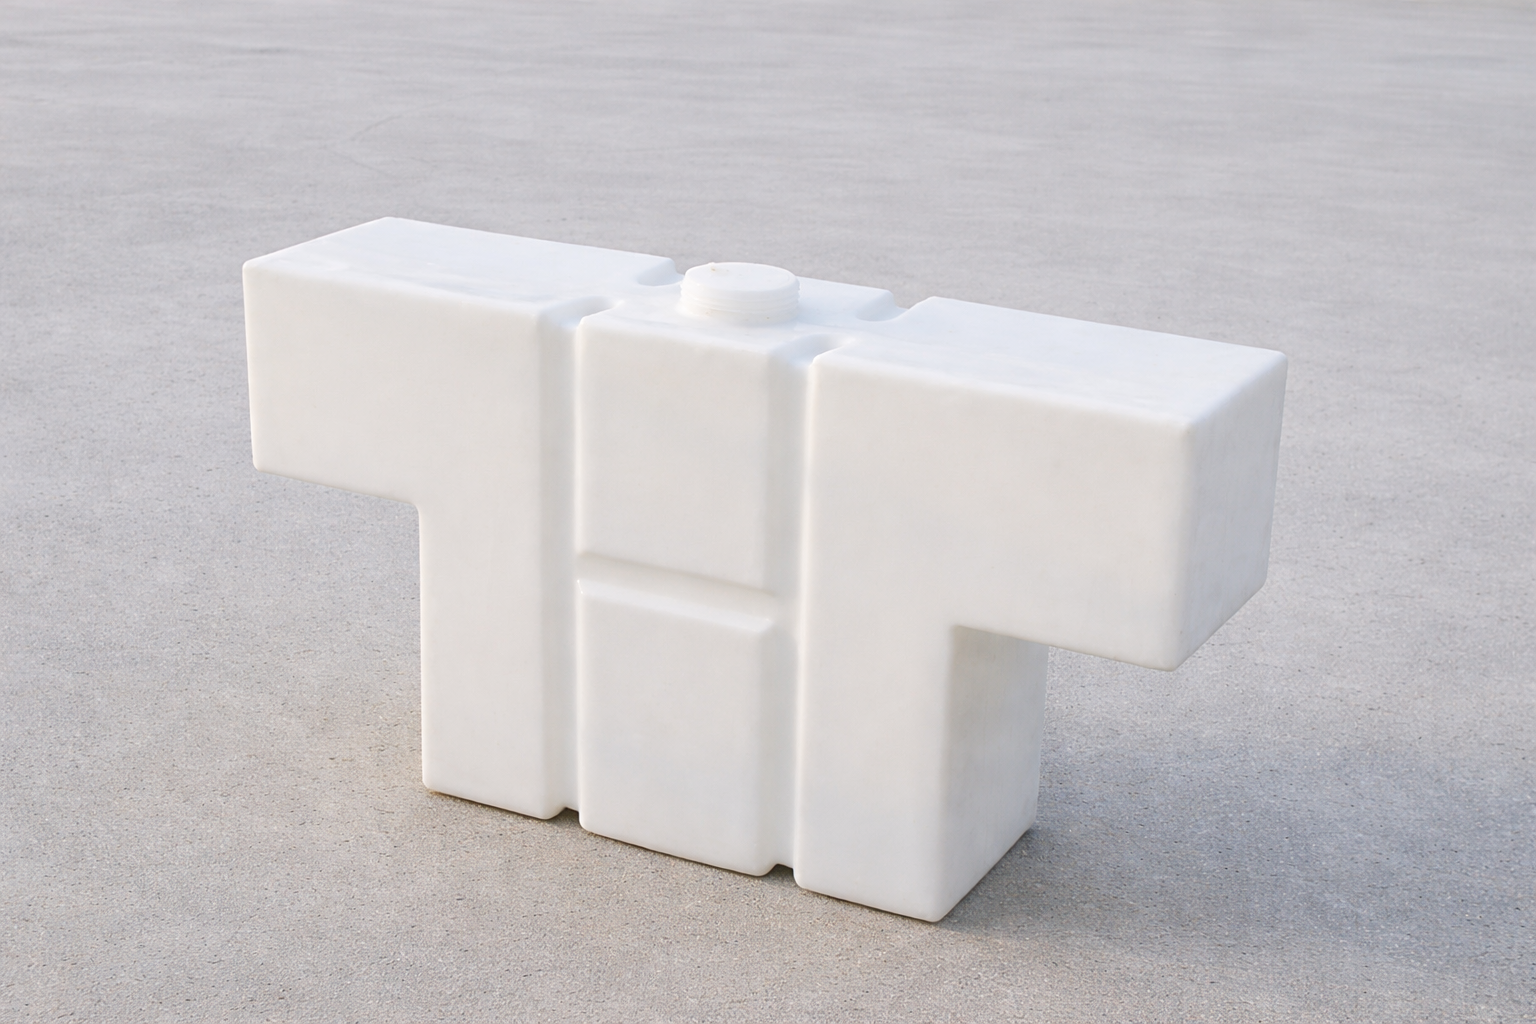
Rotational molding excels at creating double-wall designs — structures where two parallel walls are formed to add strength, insulation, or functional features. These are commonly used in products like coolers, storage containers, and industrial housings.
Double wall construction not only adds rigidity but also allows for creative design solutions such as integrated handles, hollow reinforcement ribs, or compartments. Combined with other techniques like kiss-offs or foam filling, these products can achieve impressive strength and durability while keeping weight manageable.
For optimal results, it is essential the spacing between walls should be at least five times the nominal wall thickness of the part. This ensures resin flows evenly and both walls form properly. If the spacing is too narrow, resin bridging can occur, leading to weak spots or incomplete walls.
With careful planning, double wall designs expand the functionality of rotomolded parts far beyond what single-wall construction can achieve.
Heat transfer is the most important factor. Areas of the mold that are shielded, deeply cored, or unevenly heated can form thinner walls. Conversely, areas exposed to more heat will accumulate additional material. To address this, molders often use techniques such as preheating molds, applying black paint to increase absorption, or installing heat fins and pins to balance thermal distribution.
Wall thickness can also be intentionally varied to meet product requirements. For example, ribs or stress-bearing sections may be designed with thicker walls for reinforcement, while less critical areas remain thinner to save weight and material costs. With the right design and processing methods, manufacturers can optimize wall thickness to deliver strength, durability, and cost efficiency.
Beyond resin type, several factors influence shrinkage:
- Process variables such as oven temperature, cooling rates, and cycle timing.
- Geometry restrictions where parting lines or tight corners limit resin flow.
- Release agents or permanent coatings such as Teflon that can affect how the part pulls away from the mold.
Improperly managed shrinkage can result in warping, misalignment, or parts that are difficult to demold. For example, when producing round parts, it is often better to place the parting line around the circumference rather than across it. This allows shrinkage to occur uniformly, reducing the risk of an oblong final product.
By anticipating shrinkage during the part’s design, we can adjust the mold dimensions accordingly to achieve accurate, repeatable results.
For a solution to improve flatness, designers often add a slight crown to the surface of the part, which compensates for anticipated warpage. Another effective solution is the use of reinforcing ribs, which increase stiffness without adding significant weight. Best practices for rib design include:
- A rib height roughly four times the wall thickness.
- A width at least five times the wall thickness.
- Rectangular ribs, which provide greater stiffness than rounded ones.
- Tapered sidewalls prevent parts from sticking in the mold.
By incorporating ribs, crowns, and kiss-offs, designers can achieve flat, stiffened surfaces while preserving the structural integrity of hollow rotomolded products.
The recommended corner angles vary by resin:
- Polyethylene & PVC: minimum 30°
- Nylon: minimum 20°
- Polycarbonate: minimum 45°
Angles sharper than these values often result in bridging, increased porosity, and excessive shrinkage. By rounding edges and incorporating radii, designers can reduce stress concentration and extend product life.
In addition to strength, radiused corners also improve part appearance, providing a smoother, more uniform surface. This design adjustment is a simple yet critical step in producing durable and visually appealing parts.
For example, in a donut-shaped part, the outer diameter shrinks freely away from the mold, but the inner diameter contracts against it. Without draft, demolding could deform the part or damage the mold surface.
Key guidelines include:
- Apply draft perpendicular to the parting line.
- Use greater draft for deeper cavities or textured surfaces.
- Ensure consistency across similar features to maintain uniform shrinkage.
By designing proper draft angles, manufacturers can reduce cycle times, minimize scrap, and extend mold life — all while maintaining product accuracy.
The size and number of vents depend on the volume and complexity of the mold. A general guideline is to include a ½-inch inside-diameter vent for every cubic yard of cavity volume. Larger or more complex parts may require multiple vents to ensure even gas release.
Vents must also be designed with durability and maintenance in mind. Filters or sintered bronze inserts are often used to prevent resin from escaping through the vent during molding. Proper placement is critical — vents should be positioned to clear trapped air pockets while minimizing impact on product appearance.
Well-designed venting ensures consistent part quality, reduces scrap, and helps avoid costly downtime caused by voids or porosity.
When designing a rotationally molded product, it’s important to consider how the mold will open and close. The seams where mold sections meet — known as parting lines — play a critical role in product quality, maintenance, and production efficiency.
The simplest and least costly molds are made from two pieces, minimizing parting lines and operator handling. When additional mold pieces are required to capture complex shapes, the number of parting lines increases, which can lead to flashing and higher maintenance over time.
To minimize parting line problems:
- Avoid placing them along sharp corners or knife edges — always add a radius.
- Position them horizontally when possible to reduce stress and warpage.
- Use hinge or slide systems to guide mold closure, reducing wear and operator error.
Careful planning of parting lines not only reduces flashing and scrap but also extends the life of the mold.
Modern rotationally molded products often require features that cannot be created with resin alone, such as threaded holes, mounting plates, or reinforced sections. These features are achieved using inserts and pull pins built into the mold.
Inserts may be made from stainless steel, aluminum, or brass, and can be designed to form molded threads, mount caster plates, or provide attachment points for secondary components. Pull pins are used to hold inserts or create specific openings, and their design depends on the product’s geometry and functional requirements.
Best practices include:
• Ensuring inserts are securely mounted and accessible for operators.
• Using corrosion-resistant materials when products will be exposed to outdoor or harsh environments.
• Designing insert holders for repeatability to maintain part quality across production cycles.
The integration of inserts and pull pins allows rotomolded products to combine the strength and flexibility of plastic with the precision and functionality of metal, greatly expanding design possibilities.
Foam filling is a versatile technique used in rotational molding to enhance the strength, rigidity, and thermal performance of parts. The process involves introducing foam into the mold cavity either during or after the molding process, depending on the desired application and part design. Foam-filled parts offer many benefits, including weight reduction, insulation, and added durability, making them ideal for a wide range of industries.
In-Mold Foam Filling
In-mold foam filling involves introducing foam directly into the mold cavity during the molding process. This technique creates a “sandwich” structure, with an outer plastic skin and an inner foam core. The result is a part that is lightweight yet strong, offering enhanced performance without the need for additional assembly or materials.
Types of Foam Used:
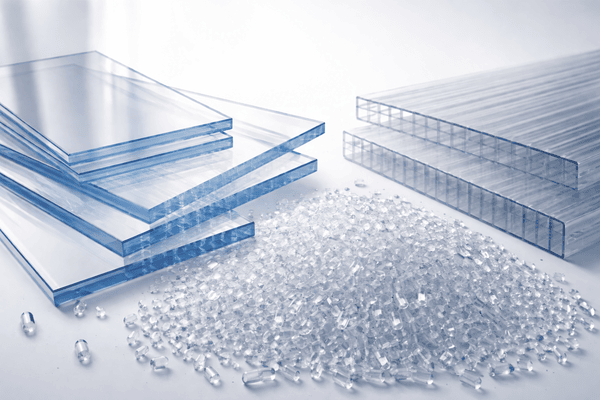
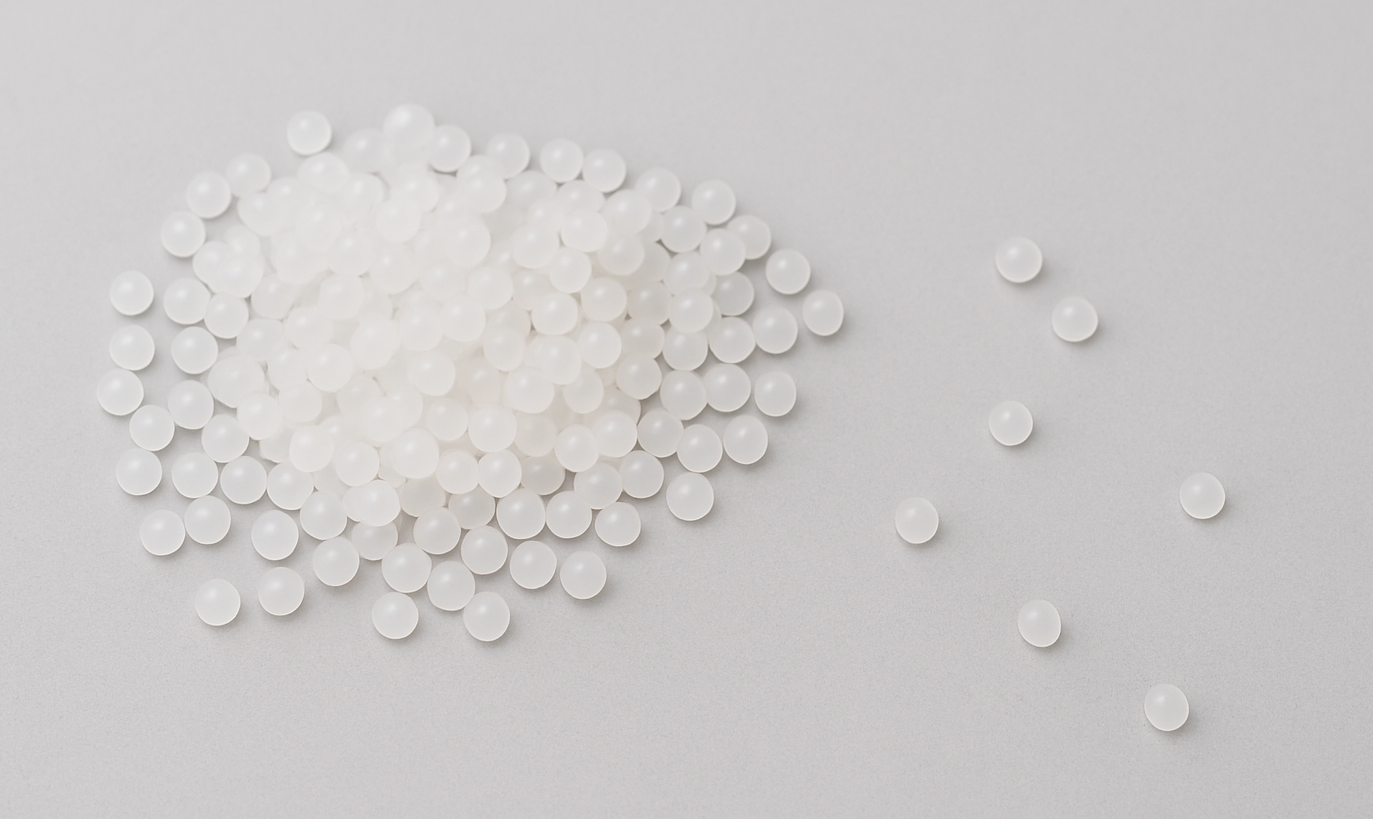
- Polyethylene (PE) Foam: Lightweight and flexible, PE foam is commonly used in applications requiring buoyancy and impact resistance, such as marine products.
- Polyurethane (PUR) Foam: Known for its excellent thermal insulation properties, PUR foam is ideal for products like refrigerated containers and coolers that need to maintain temperature stability.
Benefits:
- Enhanced Strength and Rigidity: The foam core adds structural integrity without significantly increasing the part’s weight.
- Improved Insulation: Both PE and PUR foams offer excellent thermal insulation, making them beneficial for temperature-sensitive applications.
- Buoyancy: Foam-filled parts can float, making them ideal for marine applications such as buoys and kayaks.
Applications:
- Marine products (e.g., buoys, kayaks)
- Refrigerated containers and coolers
- Construction components requiring insulation
Post-Mold Foam Filling
Post-mold foam filling is a secondary process where foam is injected into a pre-molded part that is placed inside a foaming fixture to ensure the part stays dimensionally correct. This method allows for the addition of foam to parts that were not initially designed with a foam core, providing flexibility in design and production.
Process:
- Injection of Foam: A two-part polyurethane foam is injected into the hollow cavity of the molded part.
- Expansion and Curing: The foam expands within the cavity, bonding to the inner surfaces of the part as it cures.
Benefits:
- Cost-Effective: This method allows for foam integration without requiring specialized molds, making it ideal for custom or low-volume production.
- Flexibility: Post-mold foam filling is well-suited for adding foam to existing parts or prototypes, offering quick design changes.
Applications:
- Parts requiring additional insulation or structural support
- Prototypes and low-volume production runs
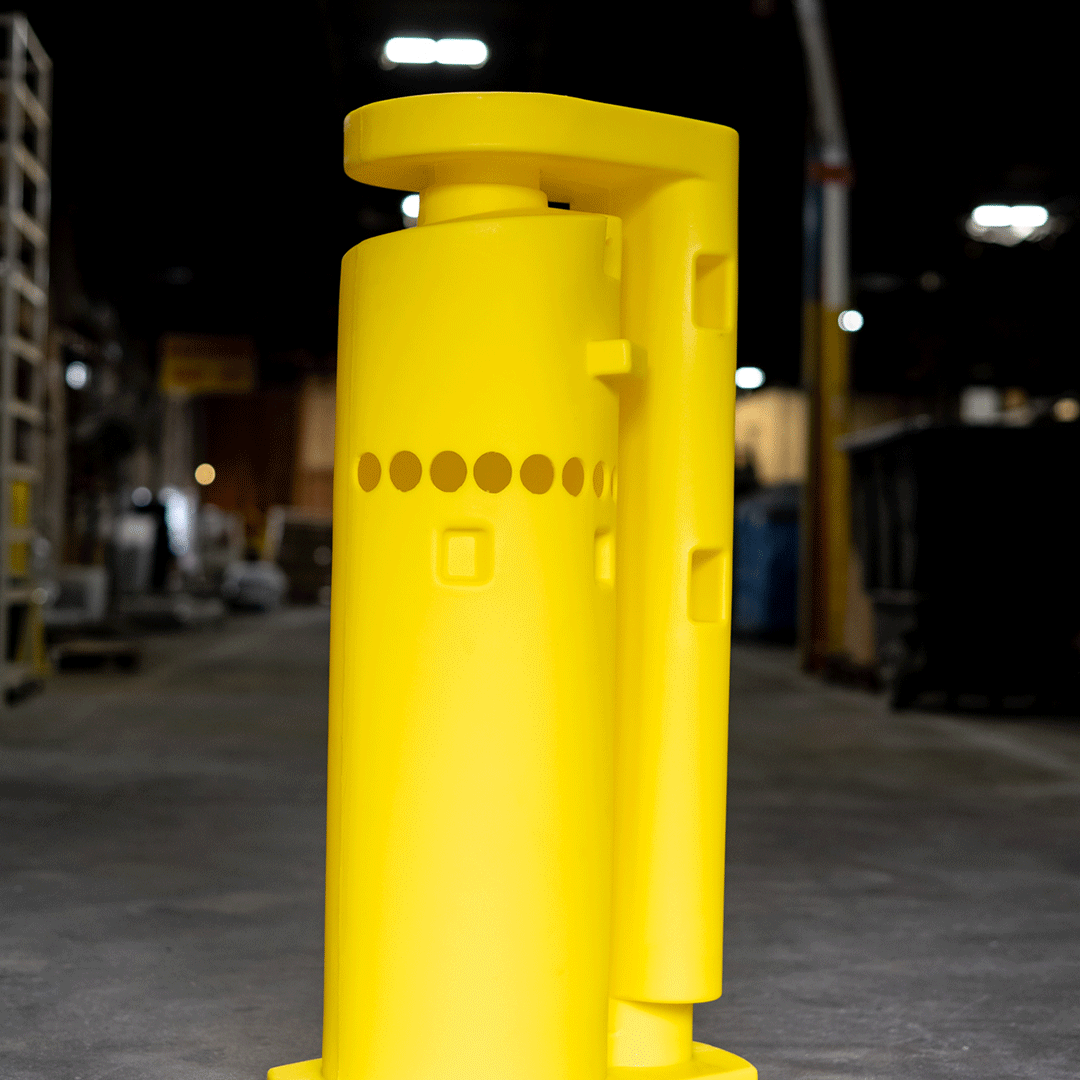
Mold-in graphics are permanently fused into the molded part during the manufacturing process. A pre-printed polymer label is placed inside the mold on the mold wall before resin is added. As the mold heats up, the label and resin bond together, creating a seamless, durable graphic that is resistant to wear and environmental factors.
Benefits:
- Durability: Mold-in graphics are highly resistant to chemicals, UV rays, and physical wear, ensuring the longevity of the graphic.
- Consistency: This process offers high repeatability and uniform quality, producing identical graphics across production runs.
- Cost-Effective: Eliminates the need for secondary labeling processes, reducing labor costs and time.
- Recyclability: The process is compatible with recyclable plastic products, making it an environmentally friendly option.
Applications:
- Ideal for products exposed to harsh environments, such as outdoor equipment, automotive parts, and industrial containers.
Need Help With a Complex Part?
Need Help With a Complex Part?
Whether your part has undercuts, double walls, or special inserts, our team can guide you to a manufacturable, high-quality solution.
Whether your part has undercuts, double walls, or special inserts, our team can guide you to a manufacturable, high-quality solution.
Rotomolding Design Guideline Help From Integrity
At Integrity Rotational, we are committed to providing innovative solutions that enhance the performance, strength, and functionality of your products. We offer expert consultation and support throughout the design and production process. Our team is here to help you navigate the complexities of rotational molding, ensuring your parts meet both functional and aesthetic requirements.
Reach out to us today to discuss how we can bring your design concepts to life with precision and efficiency.


